All about GUA SHA
Why grab a gua sha?
- Reduce facial puffiness and bags under eyes.
- Increase circulation to the skin = more growth factors and healthier skin
- Reduce toxins
- Relax tight muscles
- Lessen wrinkles
- Sculpt and gently lift the face
Better skin in 5 minutes. The gua sha facial technique uses a tool rooted in Chinese medicine to move congestion out of the face which clears toxins and increases microcirculation. Immediate results are a more sculpted look and a healthy glow. With regular use, gua sha can clear the skin, reduce blemishes, and even lessen rosacea. The first few minutes of this video cover why gua sha is so great. Start at 4:00 minutes if you want to get right to the gua sha skincare ritual. Once you get the hang of this technique five minutes and you’ll have glowing skin!
Follow along with these Gua Sha Techniques
1. Jawline – use the double bump side to scupt the jawline.
2. Massage underneath the ear with edge of tool.
3. Between the cheeks and jawline using the flat edge of the tool.
4. Cheekbone – Use the double bump side of the gua sha to scupt.
5. Sinuses. use the flat side of the tool.
6. Under Eyes
7. Under brows
8. Temples
9. Between eyebrows
10. Sunset pattern on forehead
11. Lips
12. Other side of face repeating steps 1 – 10.
13. Down neck – do not skip!
14. Under the clavicle.
The goal of a gua sha treatment is open the energetic channels in the face and also stimulate the fluid layer to increase circulation which helps detoxify.
While many folks talk about gua sha clearing lymphatic fluid, that is not an indication in Chinese Medicine. Gua sha is traditionally used to release muscle tension and ‘vent’ the skin releasing trapped heat. Be gentle with your face! Being overly zealous can result in a ‘sha’ reaction which looks like a red rash. This is petechia which is not dangerous but will look like a hickey. No thanks!
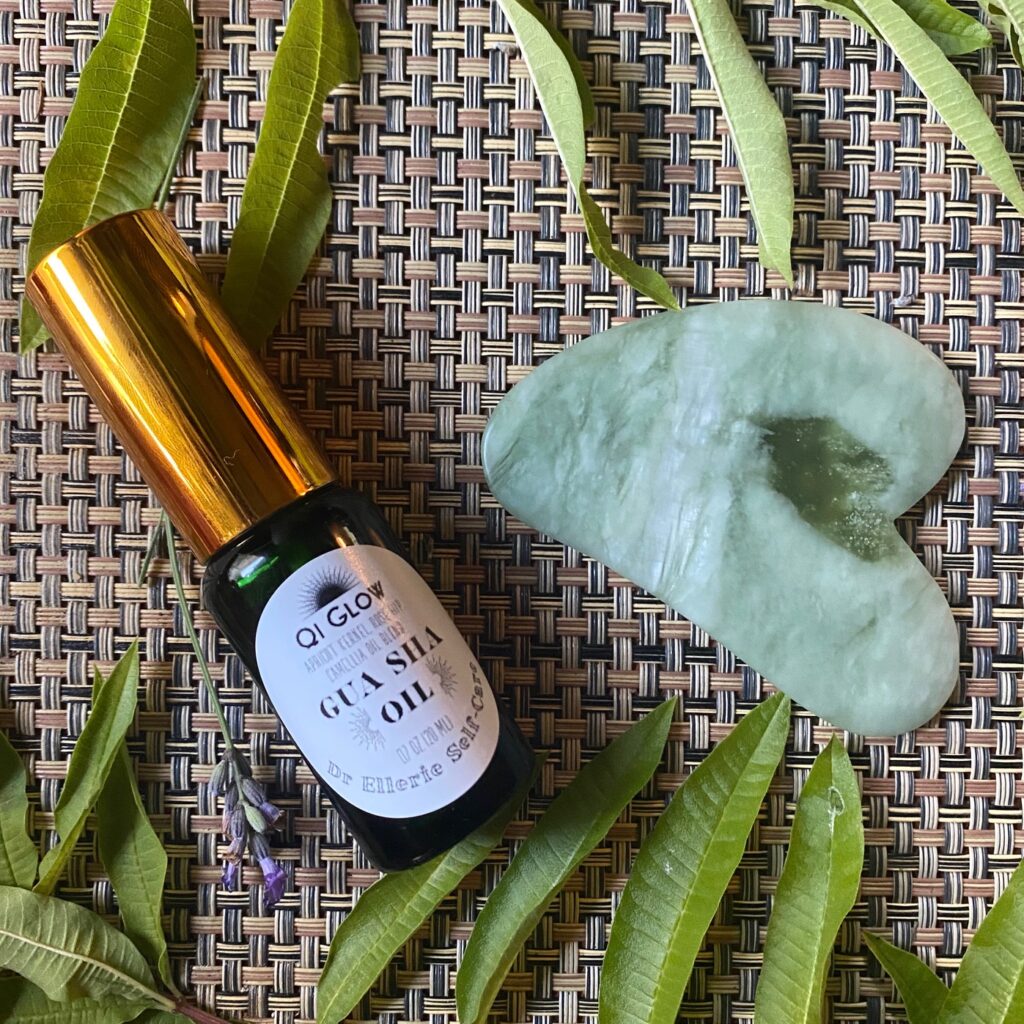
Before a gua sha treatment, apply the Gua Sha Oil to your face. This allows the tool to glide over the skin rather than stretch the skin. Additionally using a nutrient dense oil like Qi Glow will deeply absorb during the treatment and nourish the skin beyond the treatment.